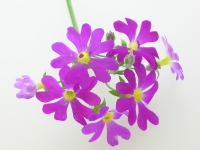
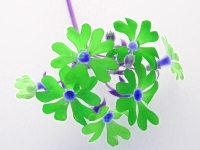
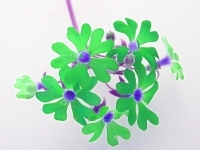
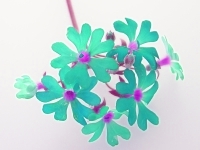
Thursday, December 07, 2006

ImageMagickで鏡面写りこみを作成する - その1

ImageMagickで鏡面写りこみを作成するには、
半透明グラデーションを適用して上下反転させることで
表現できます。

rem 環境によって変えてね
set im=C:\Progra~1\ImageMagick-6.3.0-Q16
rem 半透明グラデーションをかけて
%im%\convert.exe -size 100x100 -matte -channel A gradient:#000000ff-#00000000 sample2.png -compose multiply -composite -flip sample2d.png
rem 重ね合わせ
%im%\convert.exe -size 100x200 xc:#1a87b0 -matte sample2d.png -geometry +0+100 -compose screen -composite sample2.png -geometry +0+10 -compose atop -composite sample24.jpg

元画像(sample2.png)


出力結果(sample24.jpg)

Wednesday, December 06, 2006

ImageMagickで半透明グラデーションをかけて重ね合わせする

ImageMagickで半透明のグラデーションをかけて
画像を重ね合わせするには、以下のコマンドを実行します。

rem 環境によって変えてね
set im=C:\Progra~1\ImageMagick-6.3.0-Q16
rem 半透明グラデーションをかけて
%im%\convert.exe -size 100x100 -matte -channel A gradient:#000000ff-#00000000 sample2.png -compose multiply -composite sample2.png -compose dst_in -composite sample2b.png
rem 重ね合わせ
%im%\convert.exe sample1.jpg -matte sample2b.png -geometry +15+20 -compose screen -composite sample23.jpg

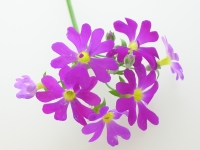
元画像1(sample1.jpg)


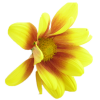
元画像2(sample2.png)


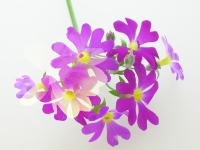
うっすらと黄色い花の画像が重ねられています。
出力結果(sample23.jpg)


12/11訂正
間違えてました。。。
透明色以外の所にalphaチャンネルに対し-fxで
グラデーションをつけて、atopで重ねたほうが
良いです。

rem 環境によって変えてね
set im=C:\Progra~1\ImageMagick-6.3.0-Q16
rem 半透明グラデーションをかけて
%im%\convert.exe -size 100x100 sample2.png -channel A -fx "u!=0?j/h:0" sample2a.png
rem 重ね合わせ
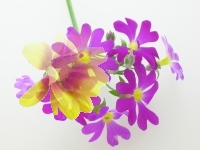
%im%\convert.exe sample1.jpg -matte sample2a.png -geometry +15+20 -compose atop -composite sample23b.jpg

出力結果(sample23b.jpg)

Tuesday, December 05, 2006

ImageMagickで画像を半透明にして重ね合わせる

ImageMagickで画像を半透明にして重ね合わせるには
-dissolveオプションを使用します。

rem 環境によって変えてね
set im=C:\Progra~1\ImageMagick-6.3.0-Q16
%im%\composite.exe -dissolve 25% sample2.png sample1.jpg -geometry +15+20 -matte sample22a.jpg
%im%\composite.exe -dissolve 50% sample2.png sample1.jpg -geometry +15+20 -matte sample22b.jpg
%im%\composite.exe -dissolve 75% sample2.png sample1.jpg -geometry +15+20 -matte sample22c.jpg

元画像1(sample1.jpg)


元画像2(sample2.png)


出力結果-dissolve 25%(sample22a.jpg)


出力結果-dissolve 50%(sample22b.jpg)


出力結果-dissolve 75%(sample22c.jpg)


通常の重ね合わせはこちら

Monday, December 04, 2006

ImageMagickで2つの画像を重ね合わせる

ImageMagickで2つの画像を重ね合わせるには
以下のコマンドのように-compositeオプションを使用します。

rem 環境によって変えてね
set im=C:\Progra~1\ImageMagick-6.3.0-Q16
%im%\convert.exe sample1.jpg sample2.png -geometry +15+20 -composite sample21.jpg

元画像1(sample1.jpg)


元画像2(sample2.jpg)


出力結果(sample21.jpg)


関連項目
Java2Dで画像を重ね合わせる
JMagickで、画像を重ね合わせる
WindowsでImageMagickをPHPから使用するための設定 (Imagickによる重ね合わせ例)
ImageMagickで重ね合わせの位置を指定する
ImageMagickで重ね合わせの位置を指定する - その2

Thursday, November 30, 2006

ImageMagickで、ビデオ風の画像を作成する

ImageMagickで、ビデオ風の画像を作成するには、
以下のように-fxオプションを使用して、1ラインごとに
明るさを変更します。

(バッチファイルなんで%が%%にしてます)
set im=C:\Progra~1\ImageMagick-6.3.0-Q16
%im%\convert.exe sample1.jpg -fx 'j%%2?p:p/0.6' sample19.jpg

元画像(sample1.jpg)


変換後(sample19.jpg)


以下のように角を丸くするとより昔のビデオっぽくなります。
set im=C:\Progra~1\ImageMagick-6.3.0-Q16
rem マスクを作って。。。
%im%\convert.exe -size 200x150 -matte -channel RGBA xc:none -background none -fill white -stroke white -draw "roundrectangle 0,0 199,149 20,20" -negate mask.png
rem ビデオ風処理+画像を切り抜く+枠線描画。
%im%\convert.exe -size 200x150 sample1.jpg -fx 'j%%2?p:p/0.6' -matte mask.png -compose screen -composite -fill none -stroke #808080 -draw "roundrectangle 0,0 199,149 20,20" sample20.jpg

変換後(sample20.jpg)


関連項目
ImageMagickで画像を角丸四角に切り取って文字入れをする

Wednesday, November 29, 2006

ImageMagickでコントラストを変更する

ImageMagickでコントラストを変更するには、以下のコマンドを実行します。

rem 環境によって変えてね
set im=C:\Progra~1\ImageMagick-6.3.0-Q16
rem コントラストを変更
%im%\convert.exe sample1.jpg -contrast sample18a.jpg
%im%\convert.exe sample1.jpg -contrast -contrast sample18b.jpg
%im%\convert.exe sample1.jpg -contrast -contrast -contrast sample18c.jpg
%im%\convert.exe sample1.jpg +contrast sample18d.jpg
%im%\convert.exe sample1.jpg +contrast +contrast sample18e.jpg
%im%\convert.exe sample1.jpg +contrast +contrast +contrast sample18f.jpg

元画像(sample1.jpg)


コントラストを上げた画像(sample18a.jpg)


2回コントラストを上げた画像(sample18b.jpg)


3回コントラストを上げた画像(sample18c.jpg)


コントラストを下げた画像(sample18d.jpg)


2回コントラストを下げた画像(sample18e.jpg)


3回コントラストを下げた画像(sample18f.jpg)


関連項目
ImageMagickでコントラストを落とす

Tuesday, November 28, 2006

ImageMagickで色相を変える

ImageMagickで色相を変えるには、以下のコマンドを実行します。

rem 環境によって変えてね
set im=C:\Progra~1\ImageMagick-6.3.0-Q16
rem 色相を変更(明るさ・彩度はそのまま)
%im%\convert.exe sample1.jpg -modulate 100,100,0 sample17a.jpg
%im%\convert.exe sample1.jpg -modulate 100,100,10 sample17b.jpg
%im%\convert.exe sample1.jpg -modulate 100,100,20 sample17c.jpg
%im%\convert.exe sample1.jpg -modulate 100,100,30 sample17d.jpg
%im%\convert.exe sample1.jpg -modulate 100,100,40 sample17e.jpg
%im%\convert.exe sample1.jpg -modulate 100,100,50 sample17f.jpg
%im%\convert.exe sample1.jpg -modulate 100,100,60 sample17g.jpg
%im%\convert.exe sample1.jpg -modulate 100,100,70 sample17h.jpg
%im%\convert.exe sample1.jpg -modulate 100,100,80 sample17i.jpg
%im%\convert.exe sample1.jpg -modulate 100,100,90 sample17j.jpg
%im%\convert.exe sample1.jpg -modulate 100,100,100 sample17k.jpg
%im%\convert.exe sample1.jpg -modulate 100,100,110 sample17l.jpg
%im%\convert.exe sample1.jpg -modulate 100,100,120 sample17m.jpg
%im%\convert.exe sample1.jpg -modulate 100,100,130 sample17n.jpg
%im%\convert.exe sample1.jpg -modulate 100,100,140 sample17o.jpg
%im%\convert.exe sample1.jpg -modulate 100,100,150 sample17p.jpg
%im%\convert.exe sample1.jpg -modulate 100,100,160 sample17q.jpg
%im%\convert.exe sample1.jpg -modulate 100,100,170 sample17r.jpg
%im%\convert.exe sample1.jpg -modulate 100,100,180 sample17s.jpg
%im%\convert.exe sample1.jpg -modulate 100,100,190 sample17t.jpg

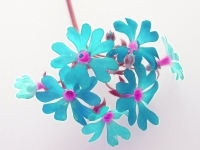
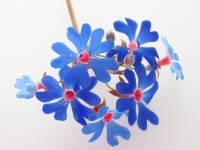
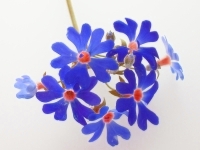
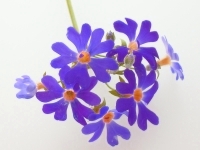
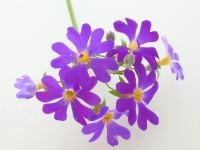
元画像(sample1.jpg)
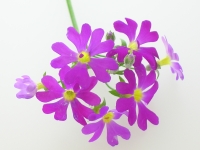

-modulate 100,100,0 (sample17a.jpg)
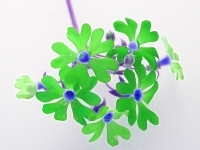

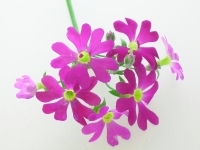
-modulate 100,100,10 (sample17b.jpg)
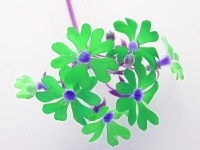

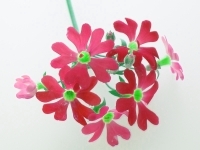
-modulate 100,100,20 (sample17c.jpg)
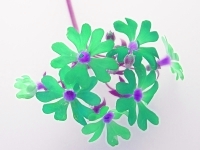

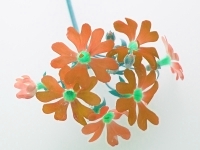
-modulate 100,100,30 (sample17d.jpg)
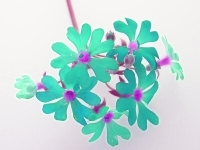

-modulate 100,100,40 (sample17e.jpg)
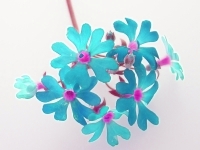

-modulate 100,100,50 (sample17f.jpg)
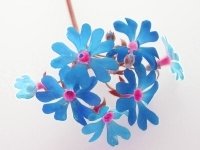

-modulate 100,100,60 (sample17g.jpg)
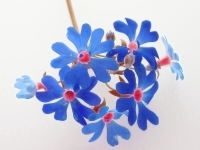

-modulate 100,100,70 (sample17h.jpg)
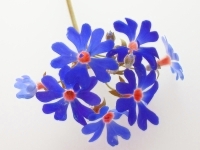

-modulate 100,100,80 (sample17i.jpg)
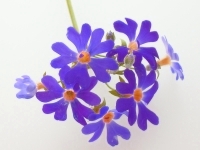

-modulate 100,100,90 (sample17j.jpg)
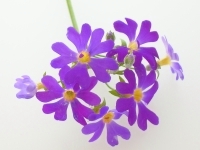

-modulate 100,100,100 (sample17k.jpg)
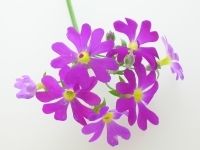

-modulate 100,100,110 (sample17l.jpg)
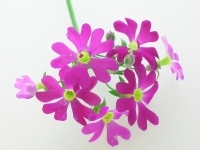

-modulate 100,100,120 (sample17m.jpg)
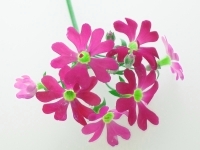

-modulate 100,100,130 (sample17n.jpg)
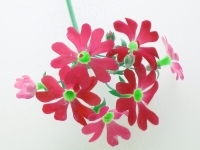

-modulate 100,100,140 (sample17o.jpg)
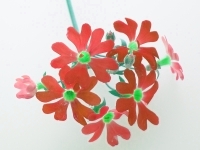

-modulate 100,100,150 (sample17p.jpg)
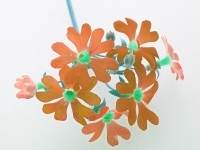

-modulate 100,100,160 (sample17q.jpg)
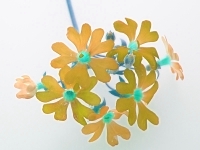

-modulate 100,100,170 (sample17r.jpg)
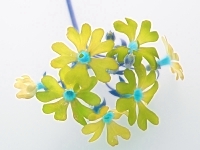

-modulate 100,100,180 (sample17s.jpg)
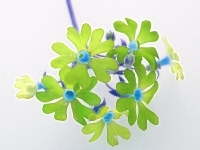

-modulate 100,100,190 (sample17t.jpg)
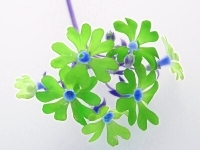

関連項目
ImageMagickとPHPで、明度・彩度・色相を変更する
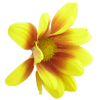
ImageMagickで彩度を変える
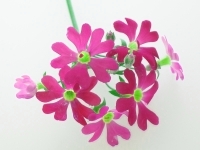
ImageMagickで彩度を変えるには、以下のコマンドを実行します。

rem 環境によって変えてね
set im=C:\Progra~1\ImageMagick-6.3.0-Q16
rem 彩度を変更(明るさはそのまま)
%im%\convert.exe sample1.jpg -modulate 100,80 sample16a.jpg
%im%\convert.exe sample1.jpg -modulate 100,90 sample16b.jpg
%im%\convert.exe sample1.jpg -modulate 100,100 sample16c.jpg
%im%\convert.exe sample1.jpg -modulate 100,110 sample16d.jpg
%im%\convert.exe sample1.jpg -modulate 100,120 sample16e.jpg

元画像(sample1.jpg)


-modulate 100,80(sample16a.jpg)


-modulate 100,90(sample16b.jpg)


-modulate 100,100 彩度そのまま(sample16c.jpg)


-modulate 100,110(sample16d.jpg)


-modulate 100,120(sample16e.jpg)


関連項目
ImageMagickとPHPで、明度・彩度・色相を変更する