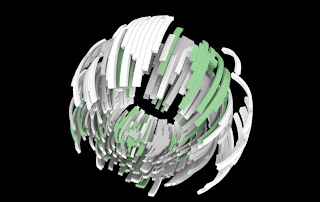
1.Structure Synthのdownload
http://structuresynth.sourceforge.net/download.php
上記URLからStructure-Synth-Windows_Binary-v0.9.5.zipを
ダウンロード後、適当なパスに解凍します。
2.Sunflowのダウンロード
http://sunflow.sourceforge.net/index.php
上記URLからsunflow-bin-v0.07.2をダウンロード後、
適当なパスに解凍します。
3.Sunflowバッチファイル変更
解凍したsunflowに含まれるsunflow.batを開き、
@set javadir="c:\program files\java\jdk1.6.0"
となっている行を環境に合わせて変更します。
JDK6 Update 13の場合は、以下のように変更します。
@set javadir="c:\program files\java\jdk1.6.0_13"
4.Structure Synthの起動とサンプルの実行
StructureSynth.exeをダブルクリックして起動し、
Examples -> Arc Sphere.esをメニューから選択します。
再生ボタンのようなアイコンをクリックします。
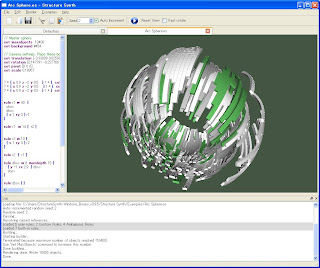
5.画像の保存
Render -> Save as Bitmap...メニューを選択して
表示された画像を保存できます。
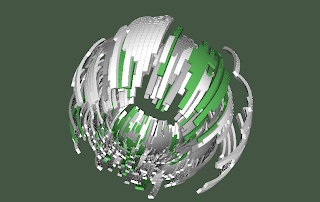
6.sunflowシーンファイルの保存
Render -> Template Render to File
-> Sunflow-Colored.rendertemplateメニューを選択し
シーンファイルを保存します。
ファイル名の拡張子には.scを指定します。(ArchSphere.scなど)
7.コマンドプロンプトなどからsunflow.batを実行します。
File -> Openメニューを選択して、先ほど保存したシーンファイルを
開きます。Imageウインドウ内のRenderボタンをクリックします。
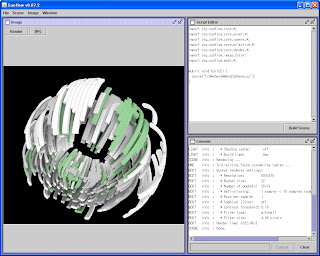
8.イメージの保存
Image -> Save Imageメニューを選択してレンダリングした画像を
保存できます。
