画像の上下左右に余白を追加するには、-spliceオプションを使用します。
どの位置に余白を追加するかは-gravityオプションで指定できます。
余白部分の色は-backgroundオプションで指定します。
rem 環境によって変えてね
set im=C:\Progra~1\ImageMagick-6.3.9-Q16
rem 上側に10ピクセルの背景色でのスペースを追加
%im%\convert.exe sf.jpg -background #e2ddd4 -gravity north -splice 0x10 sample367a.png
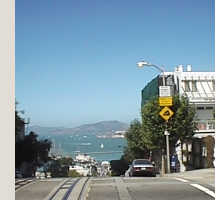
元画像(sf.jpg)

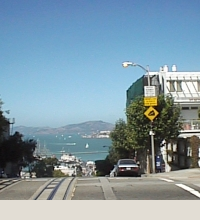
出力画像(sample367a.png)

rem 左側に15ピクセルの背景色でのスペースを追加
%im%\convert.exe sf.jpg -background #e2ddd4 -gravity west -splice 15x0 sample367b.png
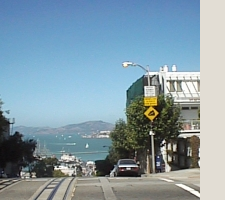
出力画像(sample367b.png)
rem 下側に20ピクセルの背景色でのスペースを追加
%im%\convert.exe sf.jpg -background #e2ddd4 -gravity south -splice 0x20 sample367c.png
出力画像(sample367c.png)
rem 右側に25ピクセルの背景色でのスペースを追加
%im%\convert.exe sf.jpg -background #e2ddd4 -gravity east -splice 25x0 sample367d.png
出力画像(sample367d.png)
2箇所に同時に余白を設定するには、以下のコマンドのようにします。
rem 右下に25ピクセルの背景色でのスペースを追加
%im%\convert.exe sf.jpg -background #e2ddd4 -gravity southeast -splice 25x25 sample367e.png
出力画像(sample367e.png)

関連項目
ImageMagickで、余白をつけて画像を連結するImageMagickで、画像からはみ出して影付き文字列を描画するImageMagickとPHPで画像に余白を追加する (Imagickでの同様の処理)


