# coding=UTF-8
from visual import *
# 立方体を作成
box1 = box(pos=(0, 0, 0), length=6, width=6, height=0.5,
color=(0xff/255.,0xff/255.,0xff/255.))
# 球を作成
sphere1 = sphere(pos=(0, 1.5, 0), radius=1,
color=(0xff/255.,0xff/255.,0xff/255.))
# カメラが見る点を指定
scene.center = (0,2,0)
# 緑色の下向きの光源を設定
lamp1 = distant_light(direction=(0, 1, 0),
color=color.green)
# 青色の左向きの光源を設定
lamp2 = distant_light(direction=(1, 0, 0),
color=color.blue)
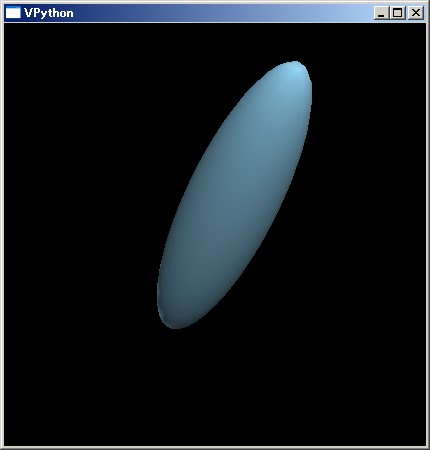
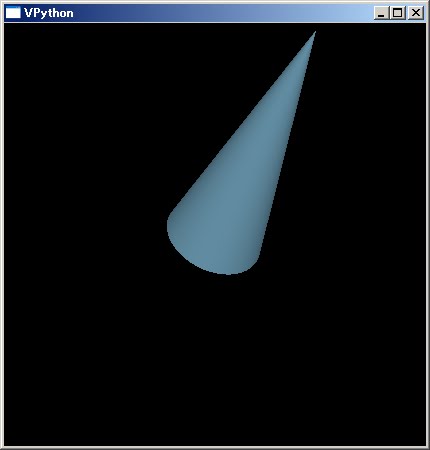
実行画面

動作環境
Python 3.1.3, VPython 5.41