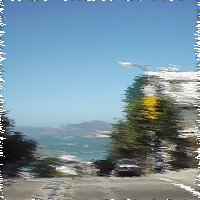
import groovy.swing.j2d.*

def gr = new GraphicsRenderer()
gr.renderToFile("sample859a.png", 200, 200){
antialias("on")
rect( x: 0, y: 0, width: 200, height: 200,
  borderColor: no){
  texturePaint(x: 0, y: 0, file: 'sf.jpg' )
  filters {
    smear(shape:smearLines,
      density:0.8, distance:8, angle:10)
  }
}

}
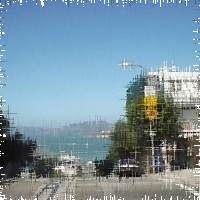
gr.renderToFile("sample859b.png", 200, 200){
antialias("on")
rect( x: 0, y: 0, width: 200, height: 200,
  borderColor: no){
  texturePaint(x: 0, y: 0, file: 'sf.jpg' )
  filters {
    smear(shape:smearCrosses,
      density:0.8, distance:8, angle:10)
  }
}

}
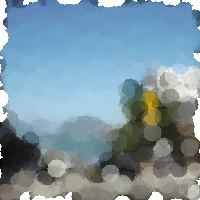
gr.renderToFile("sample859c.png", 200, 200){
antialias("on")
rect( x: 0, y: 0, width: 200, height: 200,
  borderColor: no){
  texturePaint(x: 0, y: 0, file: 'sf.jpg' )
  filters {
    smear(shape:smearCircles,
      density:0.8, distance:8, angle:10)
  }
}

}
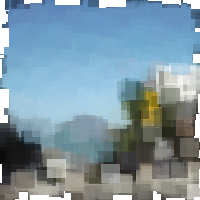
gr.renderToFile("sample859d.png", 200, 200){
antialias("on")
rect( x: 0, y: 0, width: 200, height: 200,
  borderColor: no){
  texturePaint(x: 0, y: 0, file: 'sf.jpg' )
  filters {
    smear(shape:smearSquares,
      density:0.8, distance:8, angle:10)
  }
}

}
元画像(sf.jpg)

出力画像1(sample859a.png):指定の角度の線で塗りつぶし

出力画像2(sample859b.png):十字で

出力画像3(sample859c.png):円で塗りつぶし

出力画像4(sample859d.png):四角で塗りつぶし

動作環境
Groovy1.6.0 Beta2, JDK1.6 Update11
関連項目
groovyで画像にスタンプフィルタをかける
groovyで画像を感光させたように加工する
groovyで画像を2値化する
No comments:
Post a Comment