ImageMagickとPHPで画像の端をグラデーションで着色するには、以下のコードを実行します。
<!DOCTYPE html PUBLIC "-//W3C//DTD XHTML 1.0 Strict//EN" "http://www.w3.org/TR/xhtml1/DTD/xhtml1-strict.dtd">
<html xmlns="http://www.w3.org/1999/xhtml" lang="ja" xml:lang="ja" dir="ltr">
<head>
<title>sample909(ImageMagick6.4.8)</title>
</head>
<body>
<?php
/* 画像の端をグラデーションで着色する */
/* 余白 */
$padx = 10;
$pady = 10;
$im = new Imagick("sf.jpg");
$w = $im->getImageWidth();
$h = $im->getImageHeight();
$im2 = new Imagick();
$im2->newPseudoImage($w, $h, "xc:none");
/* 余白を残して円描画 */
$idraw = new ImagickDraw();
$idraw->ellipse($w/2, $h/2, $w/2-$padx,
$h/2-$pady, 0, 360);
$im2->drawImage($idraw);
$im2->blurImage(0,30);
$im2->compositeImage($im, Imagick::COMPOSITE_IN, 0, 0,
Imagick::CHANNEL_ALL);
/* 着色 */
$im->tintImage(new ImagickPixel("#ddee33"),
new ImagickPixel("#f0f0f0"));
/* 重ね合わせ */
$im->compositeImage($im2, Imagick::COMPOSITE_OVER, 0, 0,
Imagick::CHANNEL_ALL);
$im->writeImage('sample909a.png');
$im2->destroy();
$im->destroy();
?>
<img src="sample909a.png" /><br />
</body>
</html>
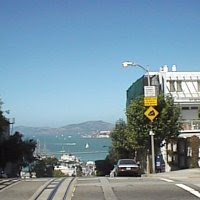
元画像(sf.jpg)
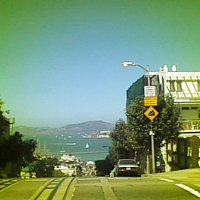
出力画像(sample909a.png)
関連項目
ImageMagickで画像の端をグラデーションで着色する


