rem 環境によって変えてね
set im=C:\Progra~1\ImageMagick-6.3.6-Q16
rem 右台形
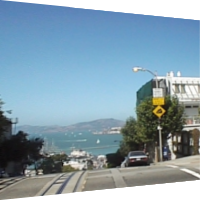
%im%\convert.exe sf.jpg -matte -virtual-pixel transparent -distort Perspective "0,0 0,0 0,200 0,200 200,200 200,180 200,0 200,20" sample240a.png
-distortオプションでPerspectiveを指定して変換前後の4点の座標を指定します。
元画像(sf.jpg)

出力画像(sample240a.png)

rem 左台形
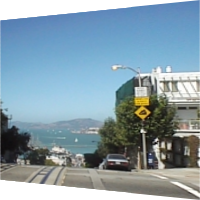
%im%\convert.exe sf.jpg -matte -virtual-pixel transparent -distort Perspective "0,0 0,20 0,200 0,180 200,200 200,200 200,0 200,0" sample240b.png
出力画像(sample240b.png)

rem 上台形
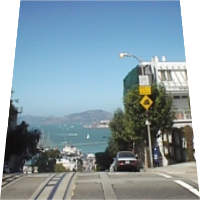
%im%\convert.exe sf.jpg -matte -virtual-pixel transparent -distort Perspective "0,0 20,0 0,200 0,200 200,200 200,200 200,0 180,0" sample240c.png
出力画像(sample240c.png)

rem 下台形
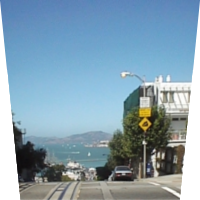
%im%\convert.exe sf.jpg -matte -virtual-pixel transparent -distort Perspective "0,0 0,0 0,200 20,200 200,200 180,200 200,0 200,0" sample240d.png
出力画像(sample240d.png)

関連項目
RMagickで画像を台形変形させる
ImageMagickで画像を三角形・台形に変形する
No comments:
Post a Comment