rem 環境によって変えてね
set im=C:\Progra~1\ImageMagick-6.3.4-Q16
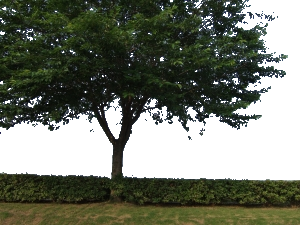
rem 青色っぽい部分を透明に設定して透過PNG作成
%im%\convert.exe tree1.jpg -channel A -fx "(hue>0.47&&hue<0.69&&luminosity>0.5)?0:1" sample180a.png
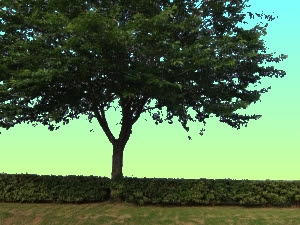
rem グラデーションと透過PNGの重ね合わせ
%im%\convert.exe -size 300x225 gradient:#80ffff-#e0ff80 sample180a.png -composite sample180b.jpg
元画像(tree1.jpg)

透過PNG(sample180a.png)

グラデーションと重ね合わせた出力画像(sample180b.jpg)

2008/01/04追記
ver6.3.7では、以下のバッチファイルのように-matteを追加します。
rem 環境によって変えてね
set im=C:\Progra~1\ImageMagick-6.3.7-Q16
%im%\convert.exe tree1.jpg -matte -channel A -fx "(hue>0.47&&hue<0.69&&luminosity>0.5)?0:1" sample180a.png
%im%\convert.exe -size 300x225 gradient:#80ffff-#e0ff80 sample180a.png -composite sample180b.jpg
2008/07/13追記
ver6.4.0あたりからluminosityからlightnessに変わったので、以下のバッチを実行します。
rem 環境によって変えてね
set im=C:\Progra~1\ImageMagick-6.4.2-Q16
%im%\convert.exe tree1.jpg -matte -channel A -fx "(hue>0.47&&hue<0.69&&lightness>0.5)?0:1" sample180a.png
%im%\convert.exe -size 300x225 gradient:#80ffff-#e0ff80 sample180a.png -composite sample180b.jpg
No comments:
Post a Comment