import groovy.swing.j2d.*

def gr = new GraphicsRenderer()
gr.renderToFile("sample878a.png", 200, 200){
 antialias("on")
 rect( x: 0, y: 0, width: 200, height: 200,
   borderColor: no){
   texturePaint(x: 0, y: 0, file: 'sf.jpg' )
   filters {
     dither(matrix:dither90Halftone6x6Matrix)
   }
 }
}
gr.renderToFile("sample878b.png", 200, 200){
 antialias("on")
 rect( x: 0, y: 0, width: 200, height: 200,
   borderColor: no){
   texturePaint(x: 0, y: 0, file: 'sf.jpg' )
   filters {
     dither(matrix:ditherMagic2x2Matrix)
   }
 }
}
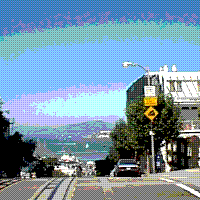
元画像(sf.jpg)

出力画像1(sample878a.png)

出力画像2(sample878a.png)

動作環境
Groovy1.6.0 Beta2, JDK1.6 Update11
関連項目
groovyで画像がきえる感じの効果をつける
No comments:
Post a Comment