rem 環境によって変えてね
set im=C:\Progra~1\ImageMagick-6.3.8-Q16
rem 2値化した画像の黒色部分を透明に設定
%im%\convert.exe tree1.jpg -threshold 50%% -matte -channel rgba -fill #00000000 -transparent #000000ff sample324a.png
rem 重ね合わせ例
%im%\convert.exe -size 300x225 pattern:checkerboard sample324a.png -composite sample324b.png
元画像(tree1.jpg)

重ね合わせ例(324b.png)

画像を2値化して白色部分を透明にするには、以下のバッチファイルを実行します。
%im%\convert.exe tree1.jpg -threshold 50%% -matte -channel rgba -fill #ffffff00 -transparent #ffffffff sample324c.png
rem 重ね合わせ例
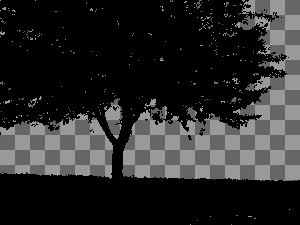
%im%\convert.exe -size 300x225 pattern:checkerboard sample324c.png -composite sample324d.png
出力画像(sample324c.png):白色部分が透過色です。

重ね合わせ例(sample324d.png)
2値化後、黒色部分を水色に、白色部分を透明にするには、以下のバッチファイルを実行します。
%im%\convert.exe tree1.jpg -threshold 50%% -matte -channel rgba -fill #ffffff00 -transparent #ffffffff -fill #bbddffff -opaque #000000ff sample324e.png
rem 重ね合わせ例
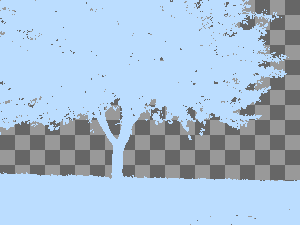
%im%\convert.exe -size 300x225 pattern:checkerboard sample324e.png -composite sample324f.png
出力画像(sample324e.png):白色部分が透明になります。

重ね合わせ例(sample324f.png)
関連項目
JMagickで2値化した画像の黒色部分の色を変え、白色分を透明にする
No comments:
Post a Comment