rem 環境によって変えてね
set im=C:\Progra~1\ImageMagick-6.3.8-Q16
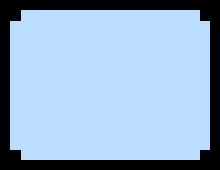
%im%\convert.exe -size 200x150 xc:#00000000 -matte -channel rgba -fill #FFFFFFFF -draw "rectangle 0,0 20,20" -roll -10-10 -negate -gravity center -background none -extent 220x170 -fx "p.r==1?#BBDDFF:0" sample322a.png
出力画像(sample322a.png)

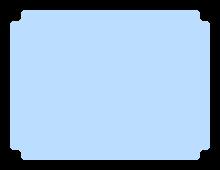
へこんだ角を丸くするには、ぼかしをかけて2値化します。
%im%\convert.exe -size 200x150 xc:#00000000 -matte -channel rgba -fill #FFFFFFFF -draw "rectangle 0,0 20,20" -roll -10-10 -negate -gravity center -background none -extent 220x170 -blur 0x2 -threshold 50%% -fx "p.r==1?#BBDDFF:0" sample322b.png
出力画像(sample322.png)

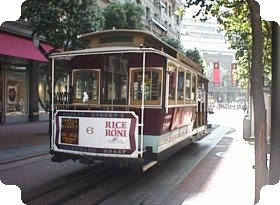
角がへこんだ形に画像を切り取るには、以下のバッチファイルを実行します。
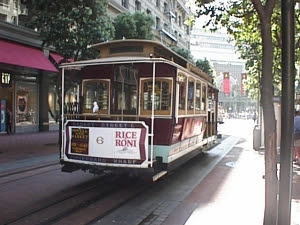
%im%\convert.exe -size 280x205 xc:#00000000 -matte -channel rgba -fill #FFFFFFFF -draw "rectangle 0,0 40,40" -roll -20-20 -negate -gravity center -background none -extent 300x225 -blur 0x4 -threshold 50%% sf2.jpg -compose src_in -composite xc:white +swap -composite sample322c.jpg
出力画像(sample322c.jpg)


No comments:
Post a Comment