以下のバッチファイルを実行します。
rem 環境によって変えてね
set im=C:\Progra~1\ImageMagick-6.3.5-Q16
rem 1ピクセルごとに透過ライン
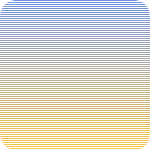
%im%\convert.exe -size 150x150 xc:none -fill gradient:#7090E0-#F8C749 -draw "roundrectangle 0,0 149,149 15,15" -channel rgba -fx "j%%2==0?p:#00000000" sample215a.png
出力画像(sample215a.png)

rem 重ねあわせ例
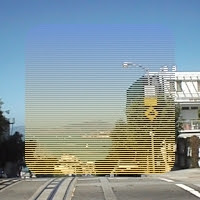
%im%\convert.exe sf.jpg sample215a.png -geometry +25+25 -composite sample215b.jpg
重ねあわせ例(sample215b.jpg)

rem 2ピクセルごとに2ピクセルの透過ライン
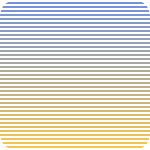
%im%\convert.exe -size 150x150 xc:none -fill gradient:#7090E0-#F8C749 -draw "roundrectangle 0,0 149,149 15,15" -channel rgba -fx "j%%4>1?p:#00000000" sample215c.png
出力画像(sample215c.png)

No comments:
Post a Comment