生成するには、以下のバッチファイルを実行します。
rem 環境によって変えてね
set im=C:\Progra~1\ImageMagick-6.3.1-Q16
%im%\convert.exe -size 200x150 xc:none -fill #fce769 -stroke #f6b739 -strokewidth 4 -draw "roundrectangle 5,5 194,99 20,20" -stroke #fce769 -draw "polygon 70,99 50,149 80,99" -stroke #f6b739 -draw "polyline 60,99 70,99 50,149 80,99 89,99" ( +clone -affine 1,0,0,0.5,0,75 -transform -shear 30x0 -channel RGBA -fx "p!=0?#D0D0D080:0" -blur 0x1 ) +swap -mosaic sample124a.png
出力画像(sample124a.jpg)

以下のコマンドで吹き出し画像を重ね合わせることができます。
%im%\convert.exe sample9.jpg sample124a.png -geometry +30+20 -composite sample124b.jpg
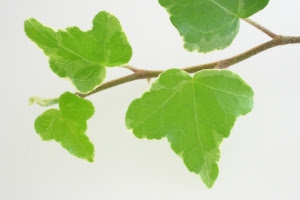
元画像(sample9.jpg)

出力画像(sample124b.jpg)

関連項目
ImageMagickで、半透明グラデーションの吹き出しを描画する
ImageMagickで、明度を変えた吹き出しを描画する
No comments:
Post a Comment